JCards
Once you’ve created Clients and Team Members, it’s time to create Jobs to link them. You can also assign Sub-Items within Jobs for larger tasks.
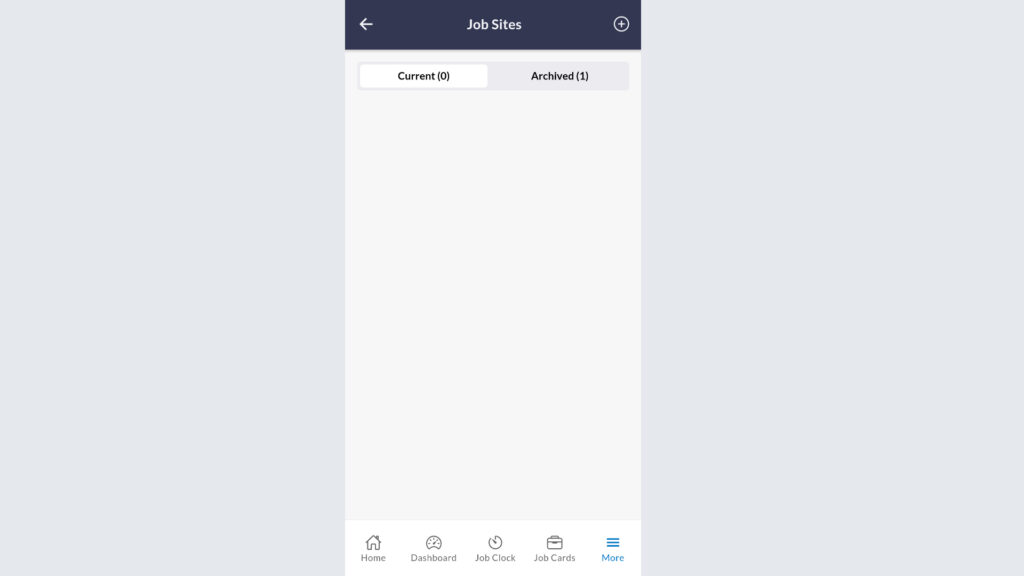
Select the “More” tab on the bottom navigation bar and select “Job Sites”.
Select the “+” symbol on the top right corner to fill in the “Job Details”.
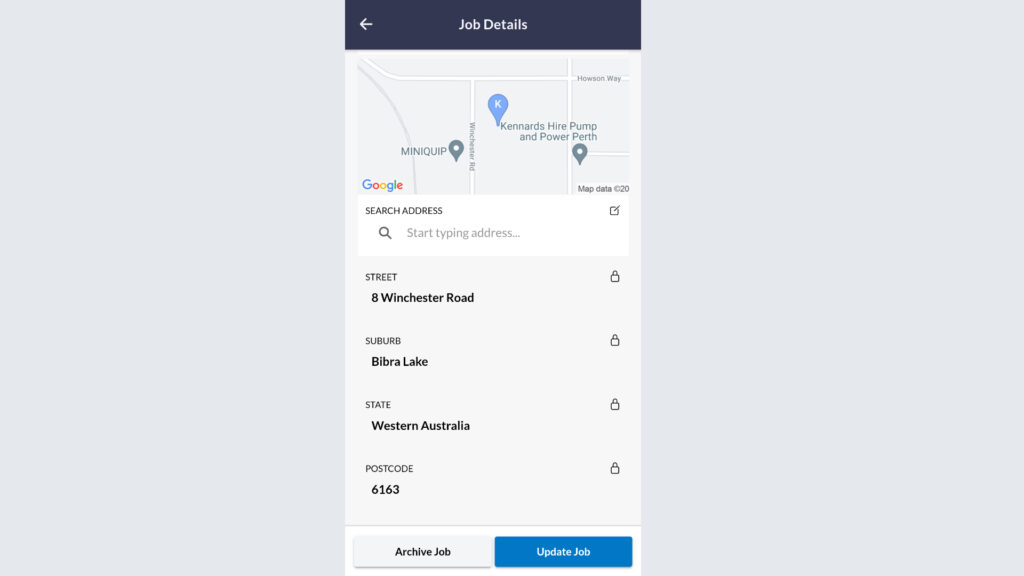
Input a Name for your Job, and select the Client you want to assign that job to.
Input the Job address at any time.
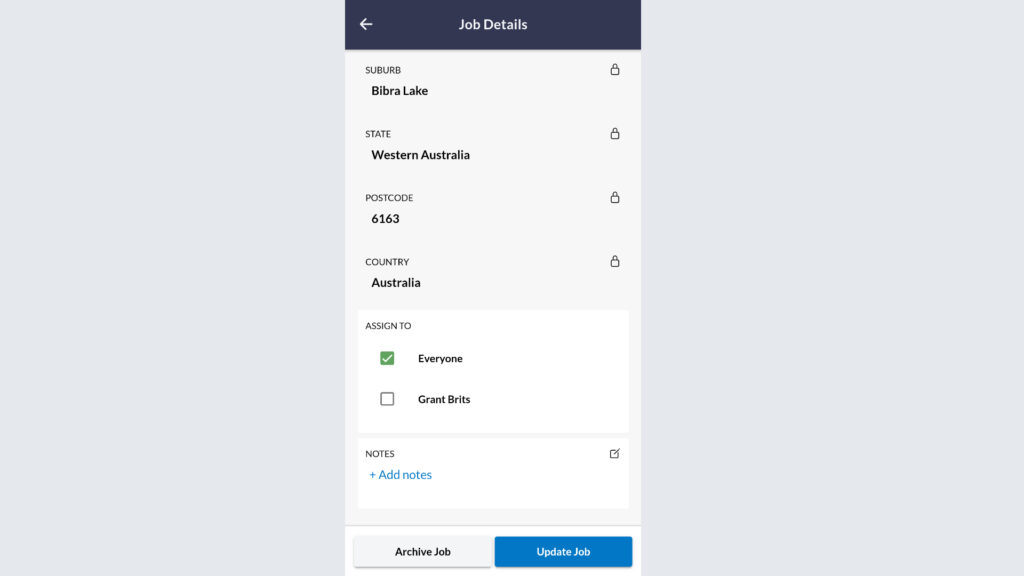
Select which team members are to be assigned to the Job.
Create any notes if required. These can only be seen by Administrative users.�
Select “Create Job” and your new Job will appear on your Jobs list.
You have successfully created your first Client.