Inviting Team Members on Desktop
Updated July 15, 2021
Overview
Clients are the life blood of any business! To build your client structure in your JCards account, always start by creating a client. These steps apply to the desktop platform only.
Steps
- Select the “Team” tab on the left-hand side navigation bar.
- Select the “Add Team Member” blue button along the top navigation.
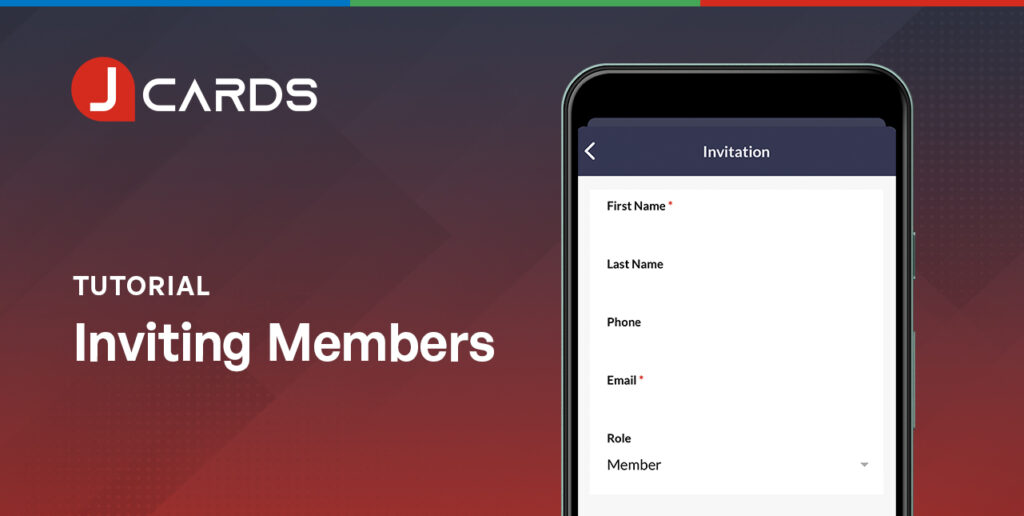
- Enter your new team member’s details. This includes their first name, surname, email, phone and role. Your role denotes your level of administrative authority within the platform. The Administrator role allows full access to all platform features, including the ability to add team members and data deletion. The Member role does not include these functions.
- Select “Save New”. Your new team member will receive an email request to create their account.
You have successfully added your first team member.
We hope our Article assisted with your JCards account setup. If you have any questions please get in touch via support@jcards.com.au
Related Articles
To start assigning team members to customers, you will need to setup your customer’s jobs.
Once you’ve invited members to your team, you can begin assigning clients and jobs to them.

